
Coloured pencil portrait of a German Shepherd
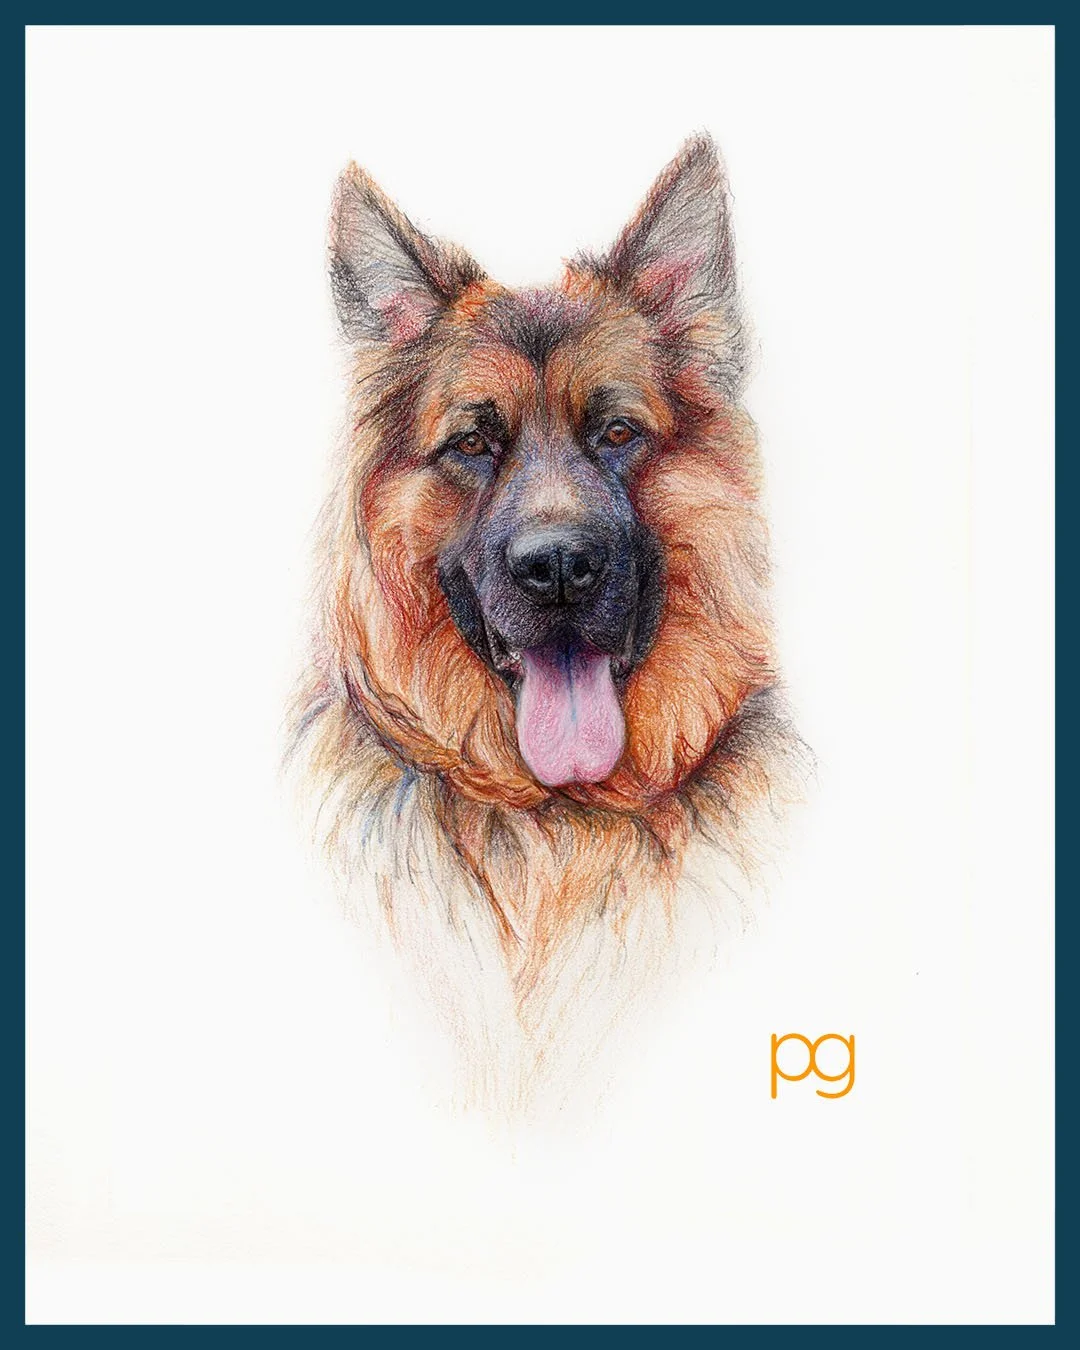
Coloured Pencil Portrait of a German Shepherd dog
A few months back, I came across a photograph of a German Shepherd dog and was blown away by how majestic and powerful this dog looked . I decided that rather than draw a pencil portrait from the photo, I would draw him in coloured pencils, so that I could show off the beautiful colours in his coat.
When drawing a portrait in coloured pencil I will use a heavy weight paper, around 300gsm. I particularly like using Arches paper but I have also started using a range of papers called Baohong, which are made in a small Chinese paper mill. Some artists prefer very smooth paper so when they are drawing a coloured pencil portrait, it lays down a solid colour with no white showing through. This type of paper is called hot pressed. I prefer to use cold pressed paper which has a texture to the surface. This allows me to retain some of the white of the paper, as the coloured pencils rub across the top of the texture but the white paper is left untouched in the hollows. This gives a brilliance to the drawing like a light shining through. If I want a more solid colour it is easy enough to fill in the troughs with a sharpened pencil
The pencils I use are Faber-Castell Polychromos pencils. These are not like your average coloured pencil, as they are made with pure paint pigment and are oil based. This gives them a saturation of colour far greater than your normal coloured pencil. They are also very soft and sharpen to a fine point.
When you are painting an oil portrait you mix colours on the palette to create an infinite range of additional colours but with coloured pencils you can not mix them in quite the same way. So what you can do is layer them on top of each other to give a new range of colours. The way in which you layer them makes a difference to the final colour so adding a yellow on top of a blue and adding a blue on top of a yellow, create different greens. In addition you can create a very vibrant sense of colour by alternating dots or lines of alternating colour so with alternating lines of blue and a yellow it creates a vibrant green.
The temptation when I started out with coloured pencils was to buy every colour I could but with experience, I discovered that I was using only a few pencils and creating the additional colours I need by layering or juxtaposing colours
As you will see from the video below I start the portrait drawing with a very light pencil sketch. When I am drawing in coloured pencil I do not want to be colouring in between the lines otherwise this is like copying and gives a very rigid style of drawing. So as I build up the colour I will be making alterations to the drawing as I go, fine tuning the drawing and the balance of light and dark with a constant eye on colour.
Some artists working in coloured pencils like to start dark and then add lighter colours as they progress the drawing. Since these are oil based pencils it does make some sense as this is the process of painting in oils, starting with the darks and adding lighter tones as you go. However I find it creates a brighter and more impactful drawing if I build the colours up as I would if I was painting with watercolours. Starting with the lightest tones and getting darker.
Some artists like to start with a certain aspect of the drawing and complete this before moving on to other areas. So when drawing a coloured pencil portrait they might draw the right eye until it is finished and then the left eye until is is finished and then work there way around the features of the face until it is completed.
I prefer to work the drawing in all areas, working up through layers and layers. This means I can balance all the elements as it develops and I can control the values ( light to dark ) and the hues ( colour) and saturation in an overall view.
The beauty of drawing is that it’s going to continue to constantly change, which is great when it makes you feel the pencil portrait is going well and getting better but then you make a change like apply another colour or a few marks or make a decision to continue working on an area that you think might be finished, but…and then your head is in your hands and you feel you have made a mess of a beautiful portrait! At this point the only thing to do is walk away before you do something worse. I go away and do something else and have a look at the drawing later, preferably the next day when things usually don’t seem so bad and with a few more changes I usually breath a sigh of relief and eventually finish the drawing.
It took about twelve hours to finish this portrait and I have to say I really enjoyed drawing this beautiful dog